Linksys G Router Configuration: A Comprehensive Guide
The Linksys G router is a popular choice for home and office networks, offering a reliable and high-speed connection to the internet. With its user-friendly interface and advanced features, configuring the Linksys G router is a straightforward process. In this article, we will walk you through the step-by-step process of configuring your Linksys G router for optimal performance.
Before You Begin
Before you start configuring your Linksys G router, make sure you have the following:
- The Linksys G router itself
- A computer or laptop with an Ethernet cable
- The router's power cord
- The router's documentation and user manual
Step 1: Connect to the Router
To connect to the router, follow these steps:
- Connect the power cord to the router and plug it into a power outlet.
- Connect the Ethernet cable to the router's Ethernet port and the other end to your computer's Ethernet port.
- Wait for the router to boot up and the lights to stabilize.
- Open a web browser on your computer and type the router's IP address in the address bar (usually 192.168.1.1 or 192.168.0.1).
- Press Enter to access the router's login page.
Step 2: Login to the Router
To login to the router, follow these steps:
- Type the router's admin username and password in the login page.
- Click on the login button to access the router's web interface.


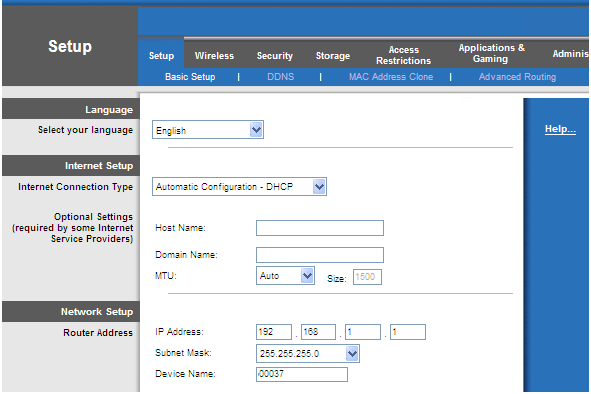
 Internet Settings")
![[OpenWrt Wiki] Linksys WRT54G, WRT54GL and WRT54GS](https://aeliyamarine.net/wp-content/uploads/2023/05/Linksys-Wrt54g-Wireless-g-Broadband-Router-With-4-port-Switch-82551-6-600x450.jpg "[OpenWrt Wiki] Linksys WRT54G, WRT54GL and WRT54GS")


