Wireless Network Configuration for Security Cameras: A Comprehensive Guide
With the increasing demand for home and business surveillance, wireless security cameras have become a popular choice for monitoring properties. However, setting up and configuring a wireless network for security cameras can be a daunting task, especially for those without technical expertise. In this article, we will provide a step-by-step guide on how to configure a wireless network for security cameras, ensuring a secure and seamless experience.
Understanding Wireless Security Cameras
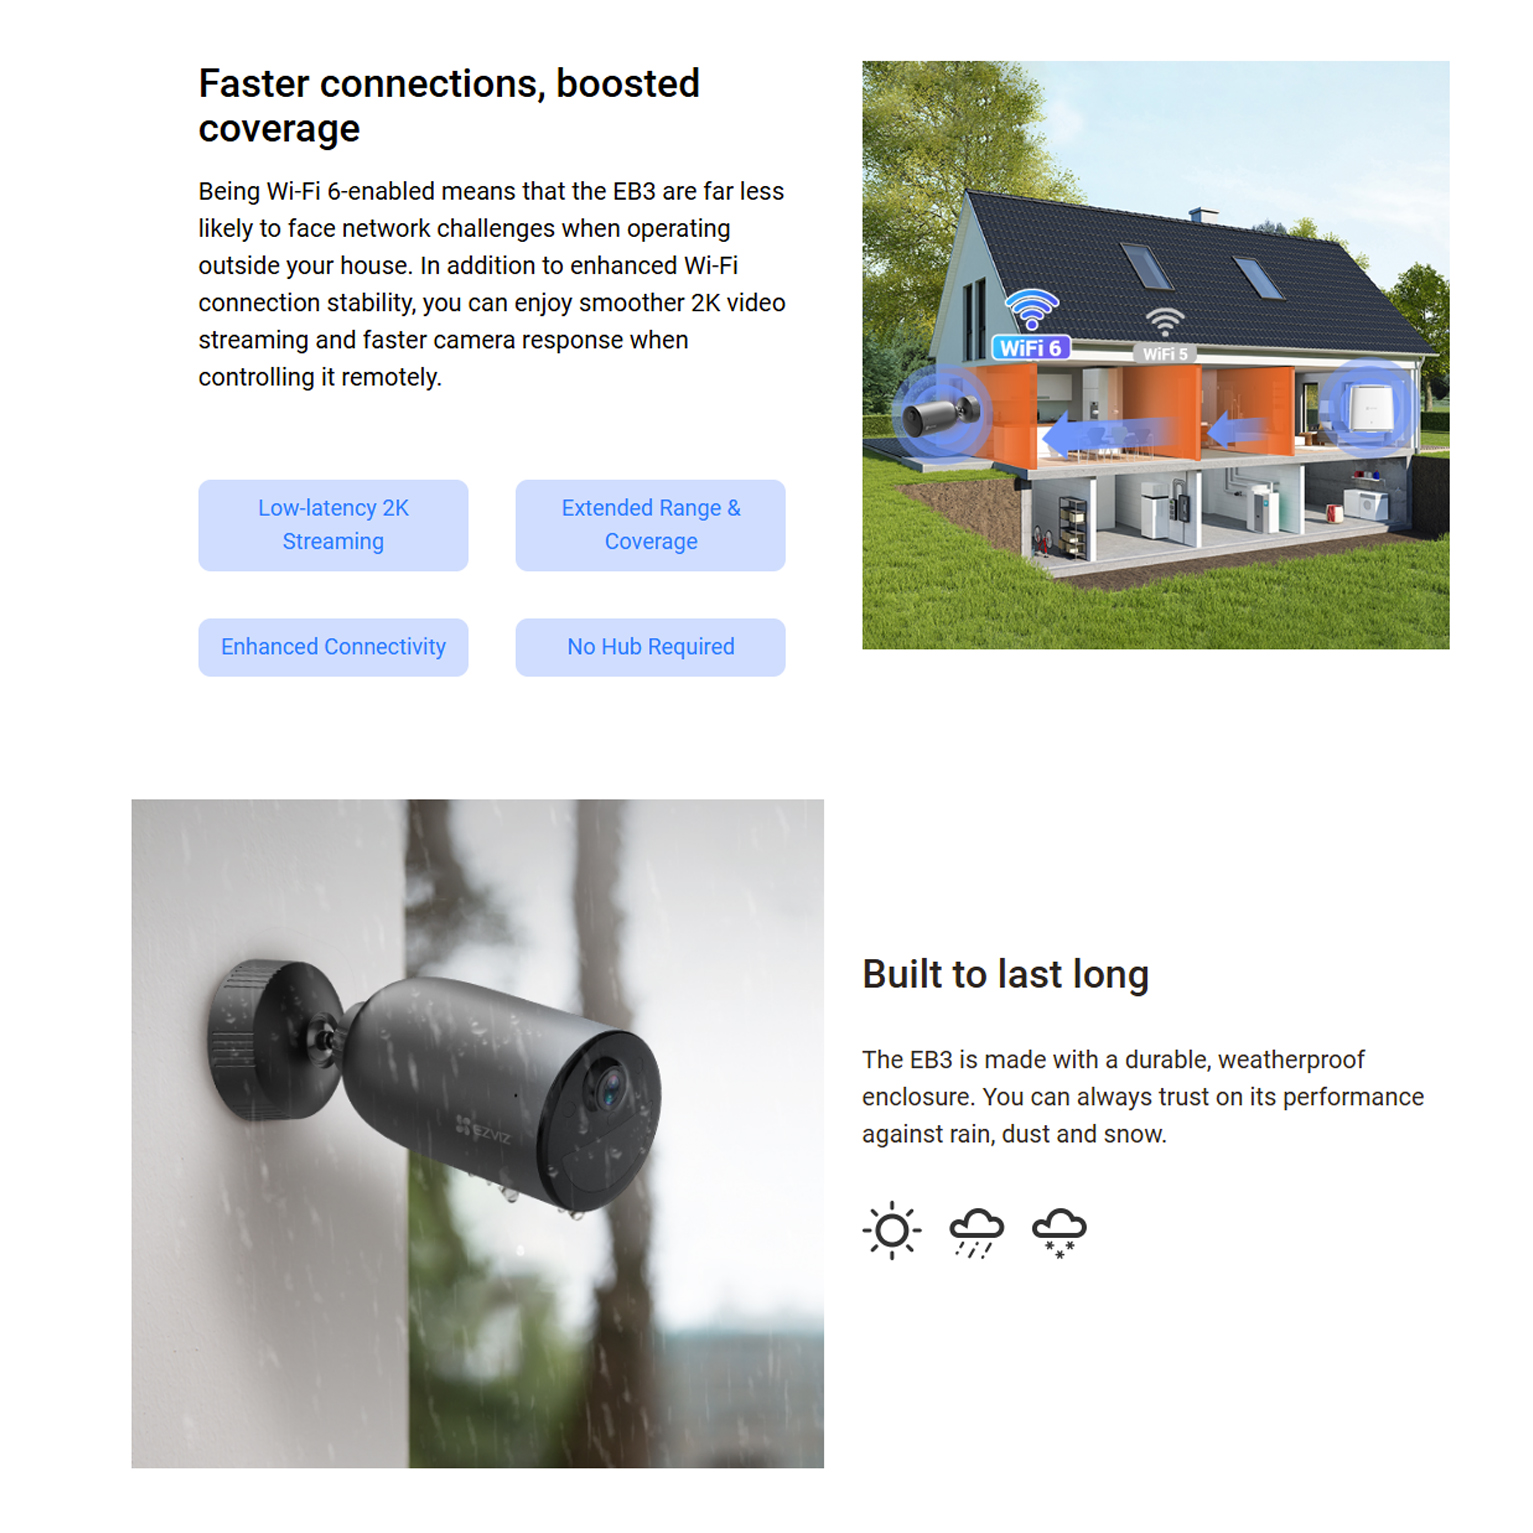
Wireless security cameras, also known as Wi-Fi security cameras or wireless IP cameras, are equipped with an integrated client radio that connects to a 2.4 GHz (802.11 b/g/n) Wi-Fi network. These cameras offer flexibility and convenience, allowing users to monitor their properties remotely using mobile devices or computers. For optimal performance, it is essential to configure the camera settings through the system's software and test the camera's view and recording before finalizing the installation.
Setting Up a Wireless Network for Security Cameras
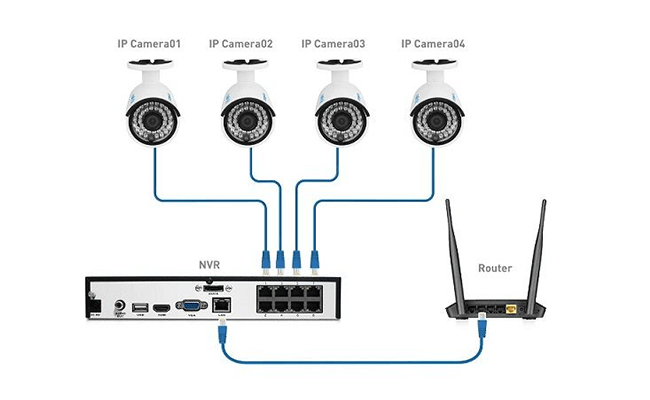
- Connect the IP camera to your local area network (LAN) using an Ethernet cable (Cat 5 or Cat 6 cable). If your IP camera has Wi-Fi capability, you can also connect it wirelessly to your network. However, a wired connection is more stable and secure than a wireless one.
- Configure the camera's IP address and subnet mask to match your network's settings. You can find the IP address and subnet mask in your router's configuration settings or by accessing the camera's web interface.
- Set up the camera's Wi-Fi network name (SSID) and password. Ensure that the SSID and password are strong and unique to prevent unauthorized access to your network.
- Connect the camera to your router using a Wi-Fi network. You can use the camera's web interface or mobile app to connect to the network and configure the settings.


![How to Set Up an IP Camera [Step-by-Step Guide] - eufy US](https://cucctv.co.uk/wp-content/uploads/dahua-nvr-setup-1024x984.jpg "How to Set Up an IP Camera [Step-by-Step Guide] - eufy US")


 Certification | CompTIA")


 Certification | CompTIA Global")


 - ipcent.com")