Router Setup for Router Configuration Wizard: A Step-by-Step Guide
Setting up a router is an essential step in establishing a home or office network. With the advent of smart routers, configuring a router has become a relatively straightforward process. In this article, we will walk you through the process of setting up your router using the Router Configuration Wizard, a user-friendly interface that guides you through the configuration process.
Understanding the Router Configuration Wizard
The Router Configuration Wizard is a built-in tool that comes with most modern routers. This tool helps you configure your router's settings, including Wi-Fi name and password, internet connection type, and firmware updates. The wizard typically takes around 5-10 minutes to complete, and it can be done with an Ethernet or Wi-Fi connection to the router.
Step-by-Step Router Setup
Step 1: Power On Your Router
Begin by plugging in your router and turning it on. Wait for a few minutes until the router is fully powered on and its lights are stable.
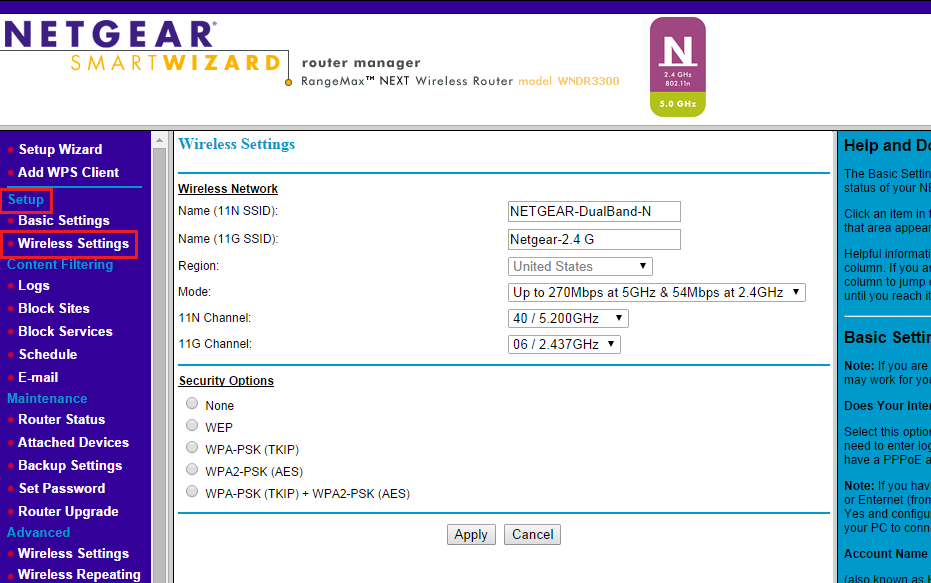
Step 2: Access the Router's Web Interface
Open a web browser and type the router's default IP address, which is usually 192.168.0.1 or 192.168.1.1. Press Enter to access the router's web interface.


![[Wireless Router] How to use the QIS (Quick Internet Setup) to set up ...](https://starlinkinsider.com/wp-content/uploads/2023/06/starlink-router-settings-1-768x1396.jpg "[Wireless Router] How to use the QIS (Quick Internet Setup) to set up ...")

![[Wireless Router] How do I enter my ASUS router's setting page using ...](https://getlabsdone.com/wp-content/uploads/2023/07/image-1024x454.png "[Wireless Router] How do I enter my ASUS router's setting page using ...")


