Netgear Router Access Point Setup For Outdoor Use
Extending your WiFi coverage outside can be a challenge, but with the right setup, you can enjoy reliable and fast internet throughout your front yard and backyard. In this article, we will explore the steps to setup a Netgear router as an access point for outdoor use, ensuring seamless connectivity and coverage.
Why Choose Netgear Router Access Point Setup?
Netgear offers a range of wireless routers and access points that are designed to provide fast and reliable internet connectivity. When you set up a Netgear router as an access point, you can extend your existing network and improve coverage in areas where your primary router's signal is weak.
Understanding Access Point Mode
Before we dive into the setup process, let's understand what access point mode is. Access point mode allows your router to function as a separate WiFi access point, providing internet connectivity to devices on a different network. This mode is useful for extending your network to outdoor spaces, such as your backyard or front yard.
Netgear Router Access Point Setup Steps
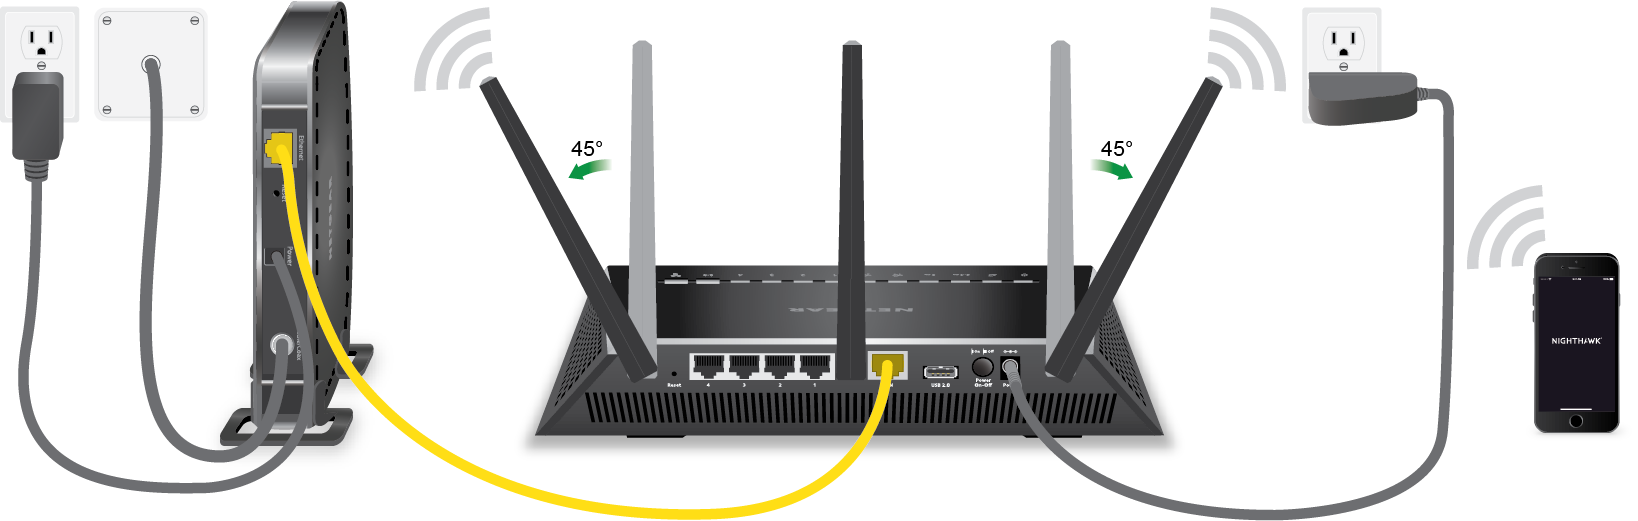
Step 1: Connect the Router to Your Network
To set up your Netgear router as an access point, you'll need to connect it to your main network using an Ethernet cable. Connect one end of the cable to the LAN port on your main router and the other end to the LAN port on your Netgear router. This will allow your Netgear router to communicate with your main router and extend your network.


")
 - WiFi 6 Dual-Band ...")


 On Amazon")


 - YouTube")


