How to Install Hardwood Floors: A Comprehensive Guide
Introduction
Installing hardwood floors represents a transformative home improvement that enhances both aesthetic appeal and property value. Whether you're replacing existing flooring or upgrading from carpet or vinyl, the installation process involves numerous critical steps that influence your floor's appearance, performance, and longevity.
Understanding the Hardwood Installation Journey
Before embarking on the installation journey, it's essential to understand the process, including the necessary preparation, tools, and materials required for a successful installation. A properly installed hardwood floor will stay level, resist moisture, and maintain its stunning appearance even in challenging environments.
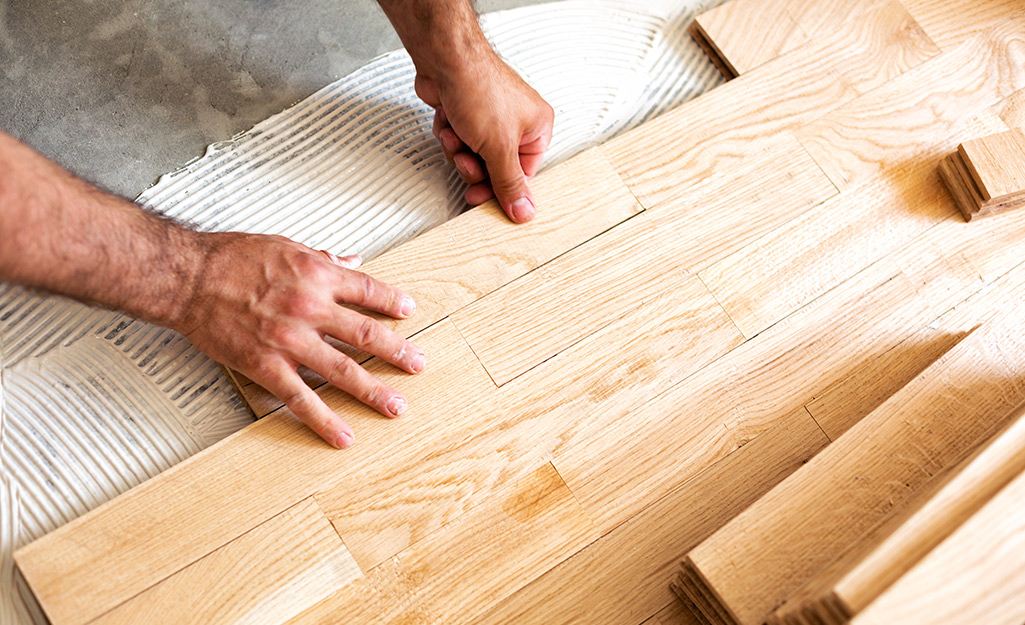
Step 1: Preparation and Planning
Preparing the subfloor is a crucial step in the hardwood floor installation process. Check for any imperfections, such as cracks or unevenness, and ensure the subfloor is level and clean. Next, choose the right installation method, such as nail-down or glue-down, and select the appropriate hardwood flooring products, including engineered or solid hardwood.
Step 2: Tools and Materials
Assembling the necessary tools and materials is a critical step in the installation process. This includes a subfloor, underlayment, hardwood flooring planks, installation nails or staples, and a range of power tools, such as a miter saw, drill press, and nail gun.


 | Floor & Decor")


